Overview
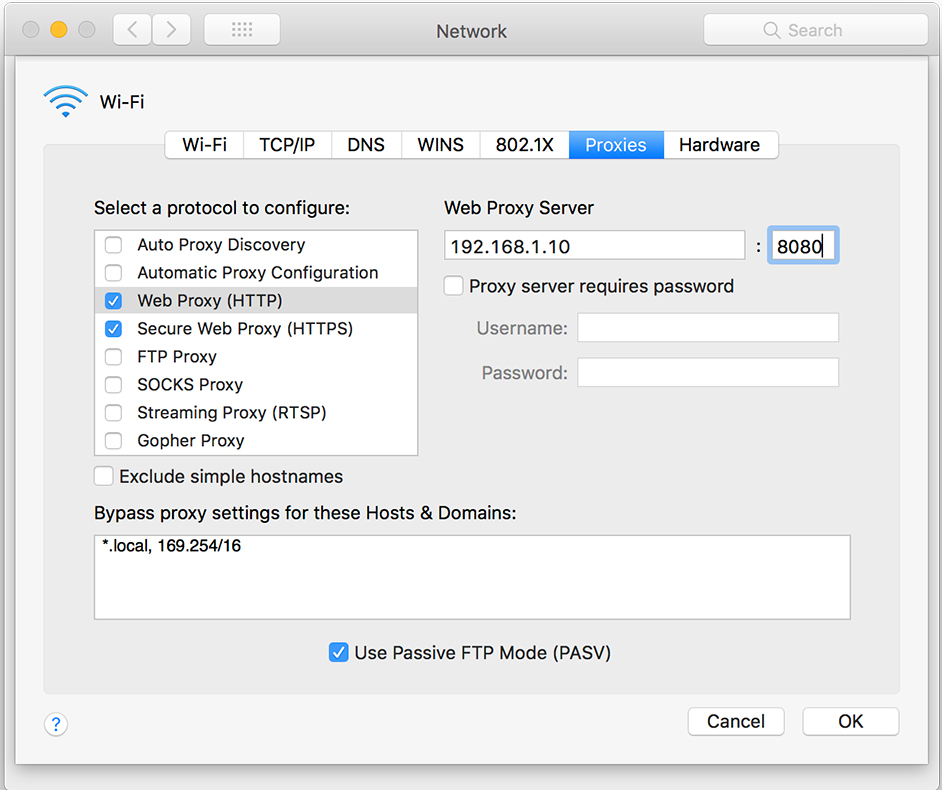
Aptitude will not use the HTTP Proxy environment variables. Instead, it has its own configuration file where you can set your proxy. This tutorial will show you how to set the proxy so that you may be able to install and update packages from remote repos.
If you filled in your proxy information during installation, the Apt configuration file would have been automatically updated. However, if you did not, then you must follow the following instructions.
Creating an Apt Proxy Conf File
Apt loads all configuration files under /etc/apt/apt.conf.d. We can create a configuration specifically for our proxy there, keeping it separate from all other configurations.
- Create a new configuration file named proxy.conf.
sudo touch /etc/apt/apt.conf.d/proxy.conf
- Open the proxy.conf file in a text editor.
sudo vi /etc/apt/apt.conf.d/proxy.conf
- Add the following line to set your HTTP proxy.
Acquire::http::Proxy "http://user:[email protected]:port/";
- Add the following line to set your HTTPS proxy.
Acquire::https::Proxy "http://user:[email protected]:port/";
- Save your changes and exit the text editor.
Your proxy settings will be applied the next time you run Apt.
Simplifying the Configuration
As mentioned by a user in the comments below, there is an alternative way for defining the proxy settings. While similar, it removes some redundancy.
Just like in the first example, create a new file under the /etc/apt/apt.conf.d directory, and then add the following lines.
Acquire {
  HTTP::proxy "http://127.0.0.1:8080";
  HTTPS::proxy "http://127.0.0.1:8080";
}


