Guest Addition is essentially for being able to unleash Vagrant’s full potential, meaning it is important that it is installed and kept updated. However, ensuring your Vagrant boxes are always running the latest version of Guest Additions can be a time-consuming task, stealing away crucial cycles that could be put to better use.
Keeping the tools update is problematic enough until you realize not all boxes available from the official repository even have Guest Additions installed, to begin with. CentOS is guilty of this, and that means you will have to spend time installing the tools every time you launch a new box.
Thankfully, there is a plugin that can manage installing and updating the tools automatically. It also just happens to be one of the most popular plugins available.
Installing the Guest Addition Plugin for Vagrant
- Open a console session.
- Run the following Vagrant command
vagrant plugin install vagrant-vbguest
Launching New and Existing Boxes
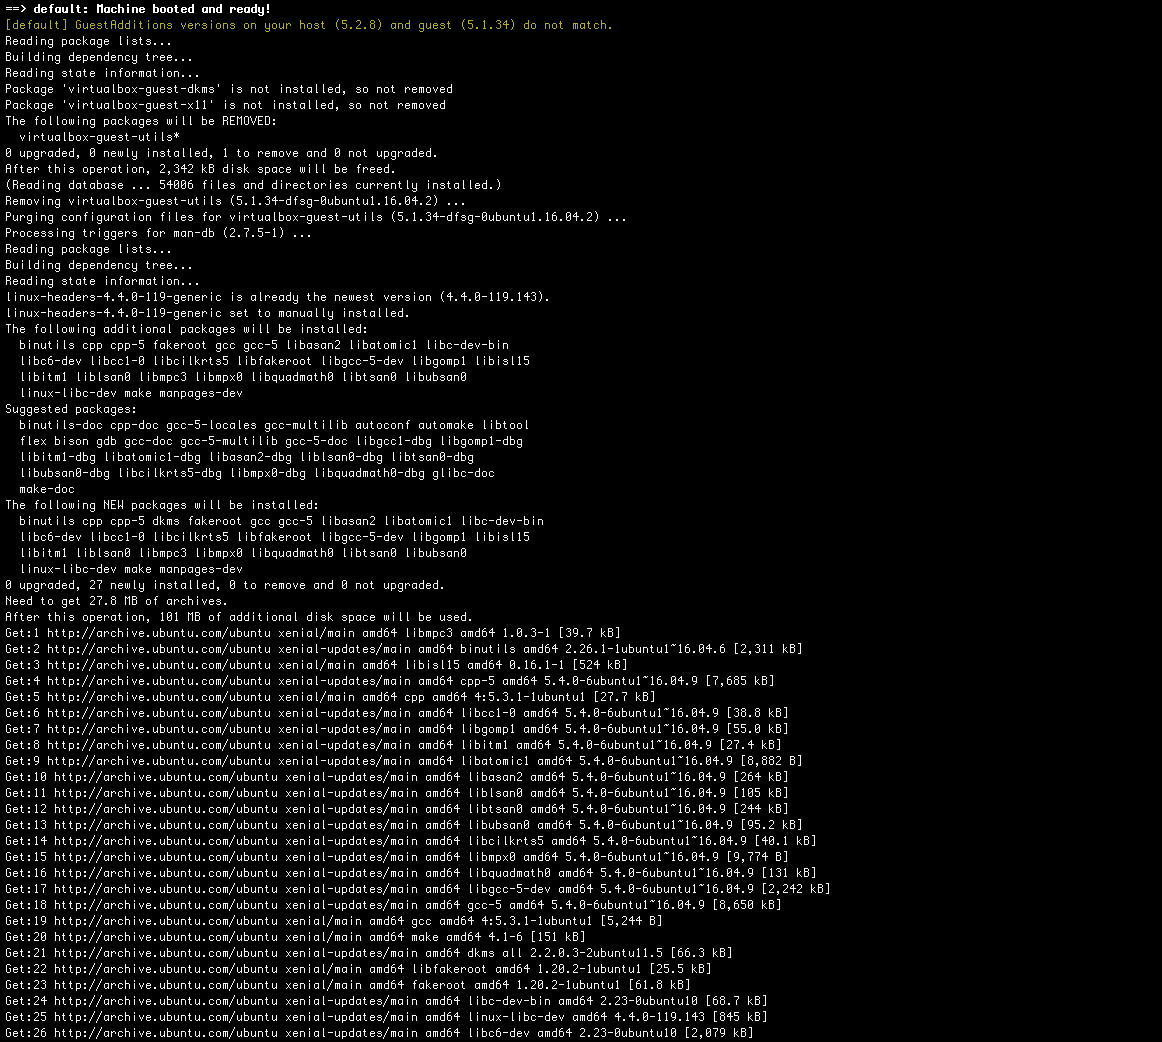
Whenever you launch a Vagrant box you will now notice that the Guest Additions installation is checked. If the latest version is installed, you will see the following output.

If, on the other hand, an update or installation is required, Vagrant will now download all dependent packages and then install Guest Additions from the Virtualbox ISO. The installation is fairly obvious. You’ll see the following output when it does happen.

Plugin Fail after Vagrant Upgrade
Being good administrators of our system we all keep our software up-to-date (right?). While great for security and addressing bugs, doing so sometimes break your installed plugins.
To update your plugins after a Vagrant upgrade, you can execute the following command.
vagrant plugin update vagrant-vbguest
Repairing a Broken Install
If an update doesn’t resolve the problem or something has corrupted your current installation, you can repair the plugin.
vagrant plugin repair vagrant-vbguest


